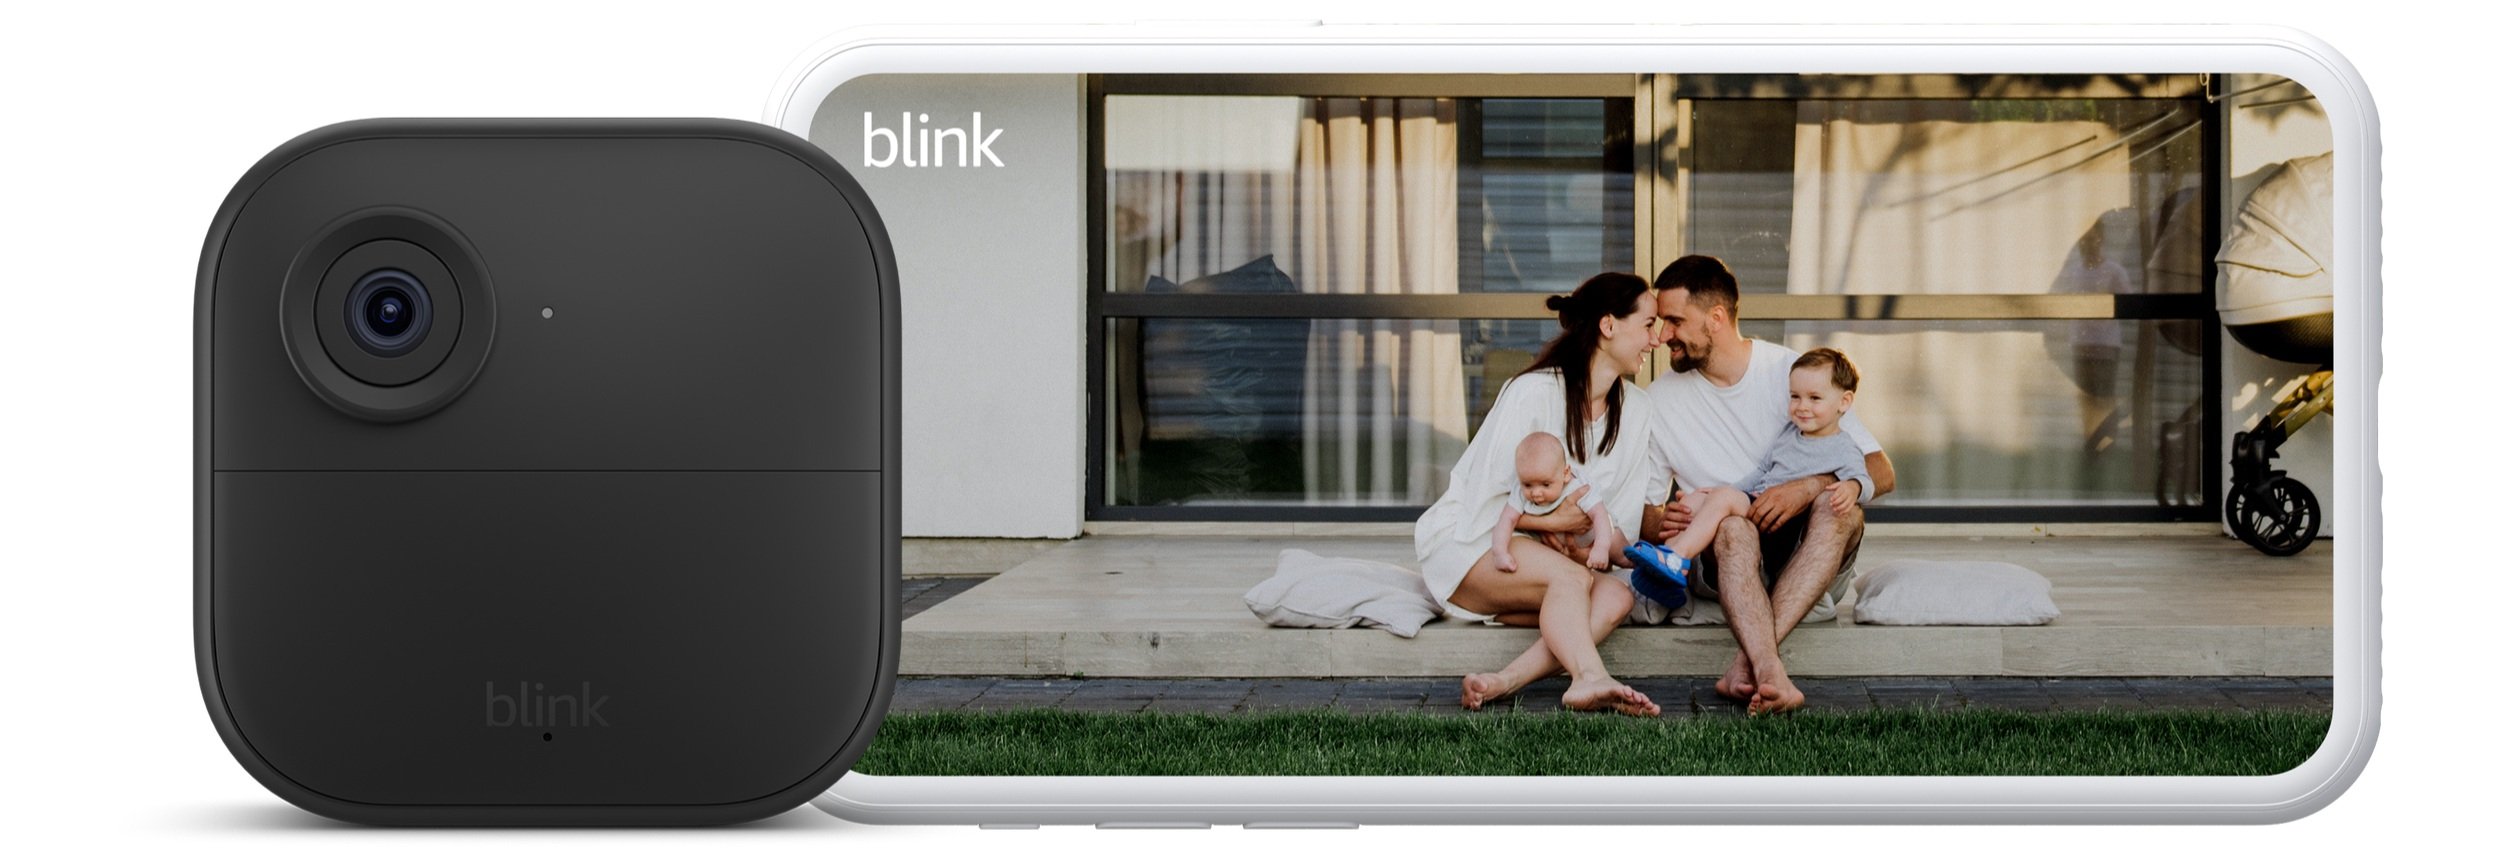
Let's Connect Your Blink Camera to Wi-Fi!
Don't worry if you're not a tech whiz! Connecting your Blink camera to Wi-Fi is actually pretty simple. Let's break it down step by step
What You'll Need:
- Your Blink camera
- The Blink app downloaded on your phone
- Your Wi-Fi network name and password
Step 1: Install the Blink App
First things first, grab your smartphone or tablet. You'll need to download the Blink app. You can find it in the App Store (if you have an iPhone) or Google Play Store (if you're using an Android). Just type "Blink Home Monitor" in the search bar and tap Install or Get.
Step 2: Turn on Your Blink Camera
Let's get your camera ready. Make sure it has fresh batteries (or is plugged in if it's a wired model). Then, turn it on. You should see a little light blinking on it.
Let's get your camera ready. Make sure it has fresh batteries (or is plugged in if it's a wired model). Then, turn it on. You should see a little light blinking on it.
Step 3: Create or Log In to Your Blink Account
Once the app is installed, open it up. You'll be greeted with a welcome screen. If you're new to Blink, tap on Create Account and follow the simple instructions to set up your account. Already have an account? Just tap Sign In and enter your details.
Tip: Have a notebook handy to jot down your email and password for future reference.
Step 4: Set Up Your Blink Sync Module
Before we get to the camera, we need to set up the Blink Sync Module (this is like the brain of your Blink system). Plug the Sync Module into a power outlet using the included cable and adapter. Make sure you are in a spot where the Wi-Fi is strong.
Before we get to the camera, we need to set up the Blink Sync Module (this is like the brain of your Blink system). Plug the Sync Module into a power outlet using the included cable and adapter. Make sure you are in a spot where the Wi-Fi is strong.
In the app, tap on the + icon in the top right corner to add a new device. Select Blink Wireless Camera System and follow the prompts to scan the QR code on the back of your Sync Module.
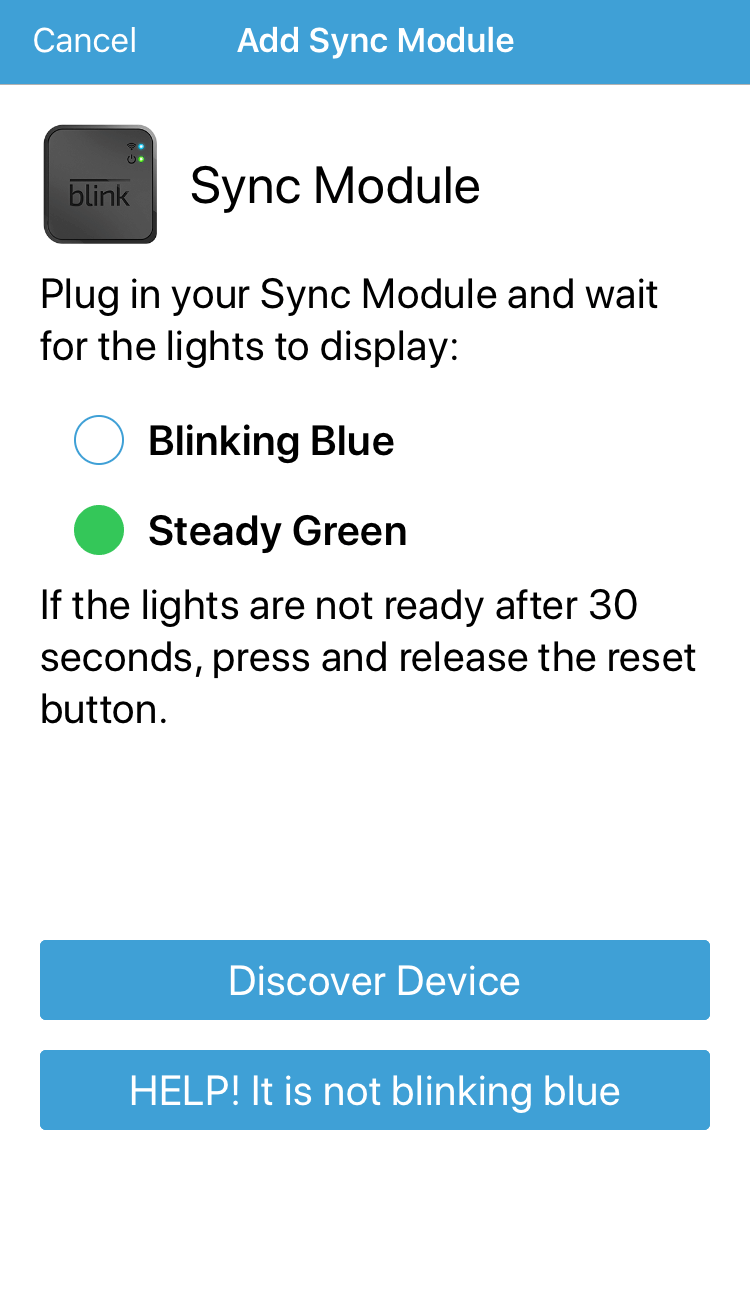
Wait for the Sync Module to begin blinking blue, with the green light remaining steady. Once it does this, tap Discover Device. The Sync Module will generate a Wi-Fi network that begins with BLINK-XXXX. Tap* Join*.
Step 5: Connect the Sync module to Wi-Fi
After the Sync Module joins the Blink network, you'll see a list of 2.4GHz networks within range. Tap BOATER WIFI and enter wireless for the password. if successful, you'll receive a notification that a new Sync Module has been added to the system. Tap Done.
**If you have your own custom Wi-Fi name, please use the password to that instead!
Step 6: Add Your Blink Camera
Now that your Sync Module is all set, it's time to add your camera. Tap the + icon again, just like before, and select Blink Wireless Camera. You'll be asked to scan the QR code on your camera (usually on the back or inside the battery compartment).
Now that your Sync Module is all set, it's time to add your camera. Tap the + icon again, just like before, and select Blink Wireless Camera. You'll be asked to scan the QR code on your camera (usually on the back or inside the battery compartment).
After scanning, the app will ask you to name your camera (like "Front Door" or "Backyard"). Once you’ve named it, the app will search for your camera and connect it to your Wi-Fi.
Step 7: If the camera is found and added, you will see a message at the top of the screen that says, "Camera added successfully." Tap Next.
And there you go! Your Blink camera is now connected to Wi-Fi, and you're ready to keep an eye on things. If you ever get stuck, just take a deep breath, retrace your steps, or contact us for extra help.
You got this!😊
** If you forgot the password to your custom Wi-Fi, please send us an email to: support@boaterwifi.net or text/call us at: 949-850-WIFI (9434)
Related Articles
Connect your Ring camera to Boater Wi-Fi
It might sound a bit techy, but it's not as complicated as it seems. Let's break it down step-by-step. First thing you'll need: Your Ring camera: Make sure it's charged or plugged in. The Ring app: Download it from the App Store (for iPhone) or ...Connect your TPlink Tapo Security Camera to Wi-Fi
To connect your Tapo security camera to Wi-Fi, follow these easy steps. This guide is easy to follow even if you are not tech-savvy, so take your time and follow along! Step 1: Prepare Your Camera Open the box: Take your Tapo camera out of the box. ...Let's connect your PlayStation to Wifi!
Let’s get your PlayStation connected to the WiFi in no time. Think of it like getting your PlayStation to join a WiFi party – we just need to give it the right directions. Let’s dive in! Step 1: Turn on Your PlayStation First things first, you need ...Let's Get Your iPhone Connected to Wi-Fi!
Alright, let's get your iPhone connected to Wi-Fi! Step 1: Find the Settings First, let's find the control center of your iPhone. It's like the brain of your phone! Look for a little gear icon on your home screen. Step 2: Turn on the Wi-Fi Switch ...Connecting Your Google Nest Cam to Wi-Fi
Let's walk through how to connect your Google Nest Cam to Wi-Fi! To connect your Google Nest Cam to Wi-Fi, follow these simple steps. Make sure you have your smartphone handy, as you will need to use it to set up the camera. Let's get started! Step ...